Here is the mess of a table that we started with:
Yep. That is a pool noodle! I bought it on clearance for 25 cents this fall. Great jumping off point for us since it is already orange! Tape the two ends together with clear packing tape, and Voila! Wreath shape!

Start adding whatever decorations you like. I chose a couple different kinds of ribbon. (I love animal prints)

Burn yourself a few times on the hot glue gun, because really, you haven't done a craft properly unless you burn yourself or something else! hahaha.
Add some leafy pieces next. (I got my strand of leaves with little pumpkins and berries attached on clearance for 2 bucks after Thanksgiving last year) I wrapped it around and around and then pulled off the leaves that were on the back side, then glued them to the front side.


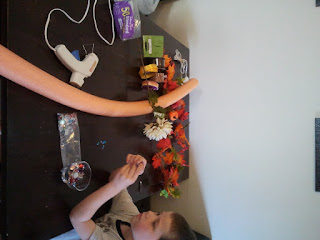
Almost done. Next step was to let my son have fun with some gemstones. He isn't old enough yet to use the glue gun, so I gave him a roll of Glue Dots and a bag of gems and let him just stick them on wherever he felt like. He is all about things being symmetrical so he was very careful to evenly space them and put the same colors in the same places on all sides of the wreath. (Yes he probably gets that from me)

It was missing something. I didn't know what, so I stared at it for a while. Then a while longer. Then it hit me. It just needed a flower. So we glued on a flower and stuck some of the berries from the leafy strand in the center. Then we hung it up by sticking a really strong magnet inside the loop of ribbon at the top and sticking it to our (metal) door.

And just because I love playing with Instagram:

Needs more gingerbread.
ReplyDelete